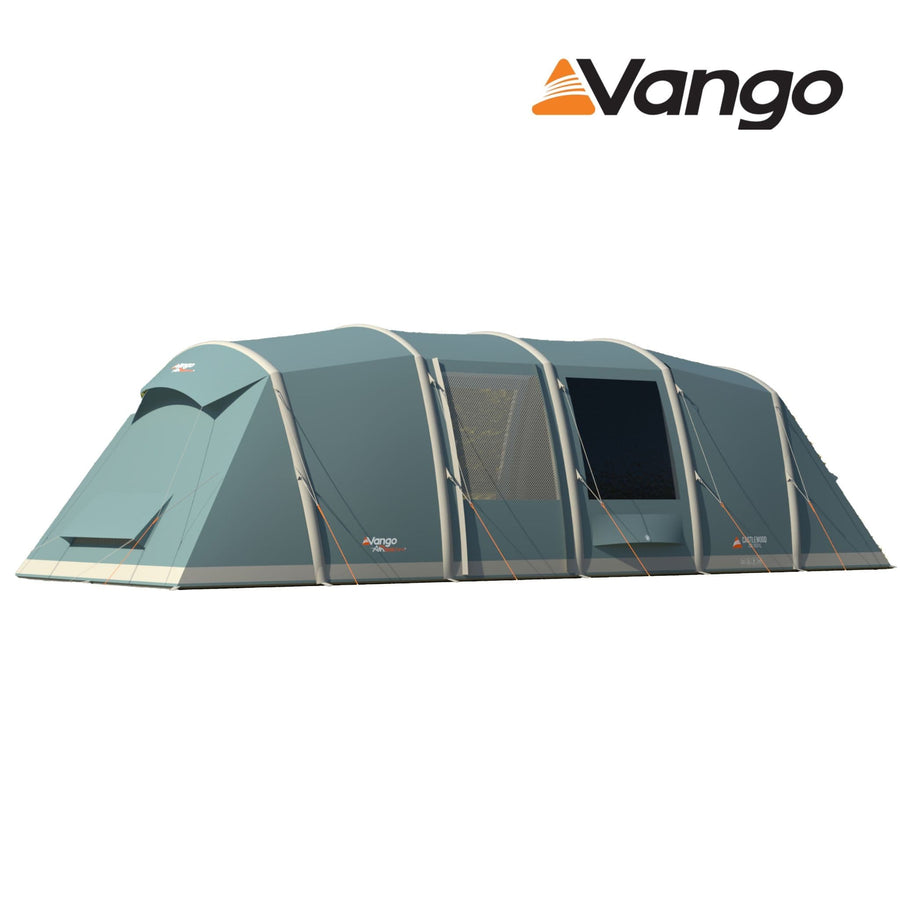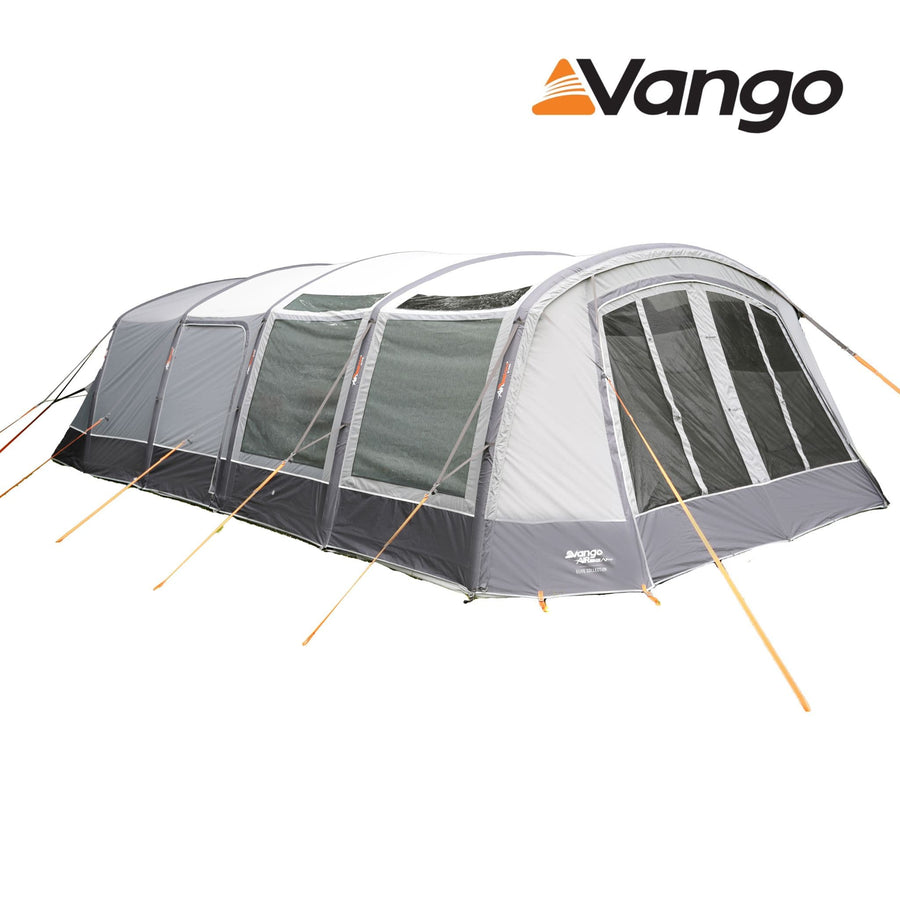

Pitching a Vango AirBeam Tent - Your Hassle-Free Guide!
Pitching an AirBeam tent has revolutionised family camping, making the process hassle-free.
However, to ensure a smooth setup, follow our handy blog guide below:
Prepare the ground
- Choose the right pitch location and avoid boggy or uneven ground.
- Remove any sharp objects from the ground
- Arrive at the campsite in good light conditions to avoid pitching in the dark.
- Lay down the footprint groundsheet first (if you have one).
- Keep all tent components nearby, including pegs and the pump.
- Place a weight inside the tent bag to prevent it from blowing away.
Pitching the tent
- Unroll the tent over the footprint groundsheet.
- Ensure the tent covers the sewn-in groundsheet completely.
- Peg down the four corners of the sewn-in groundsheet.
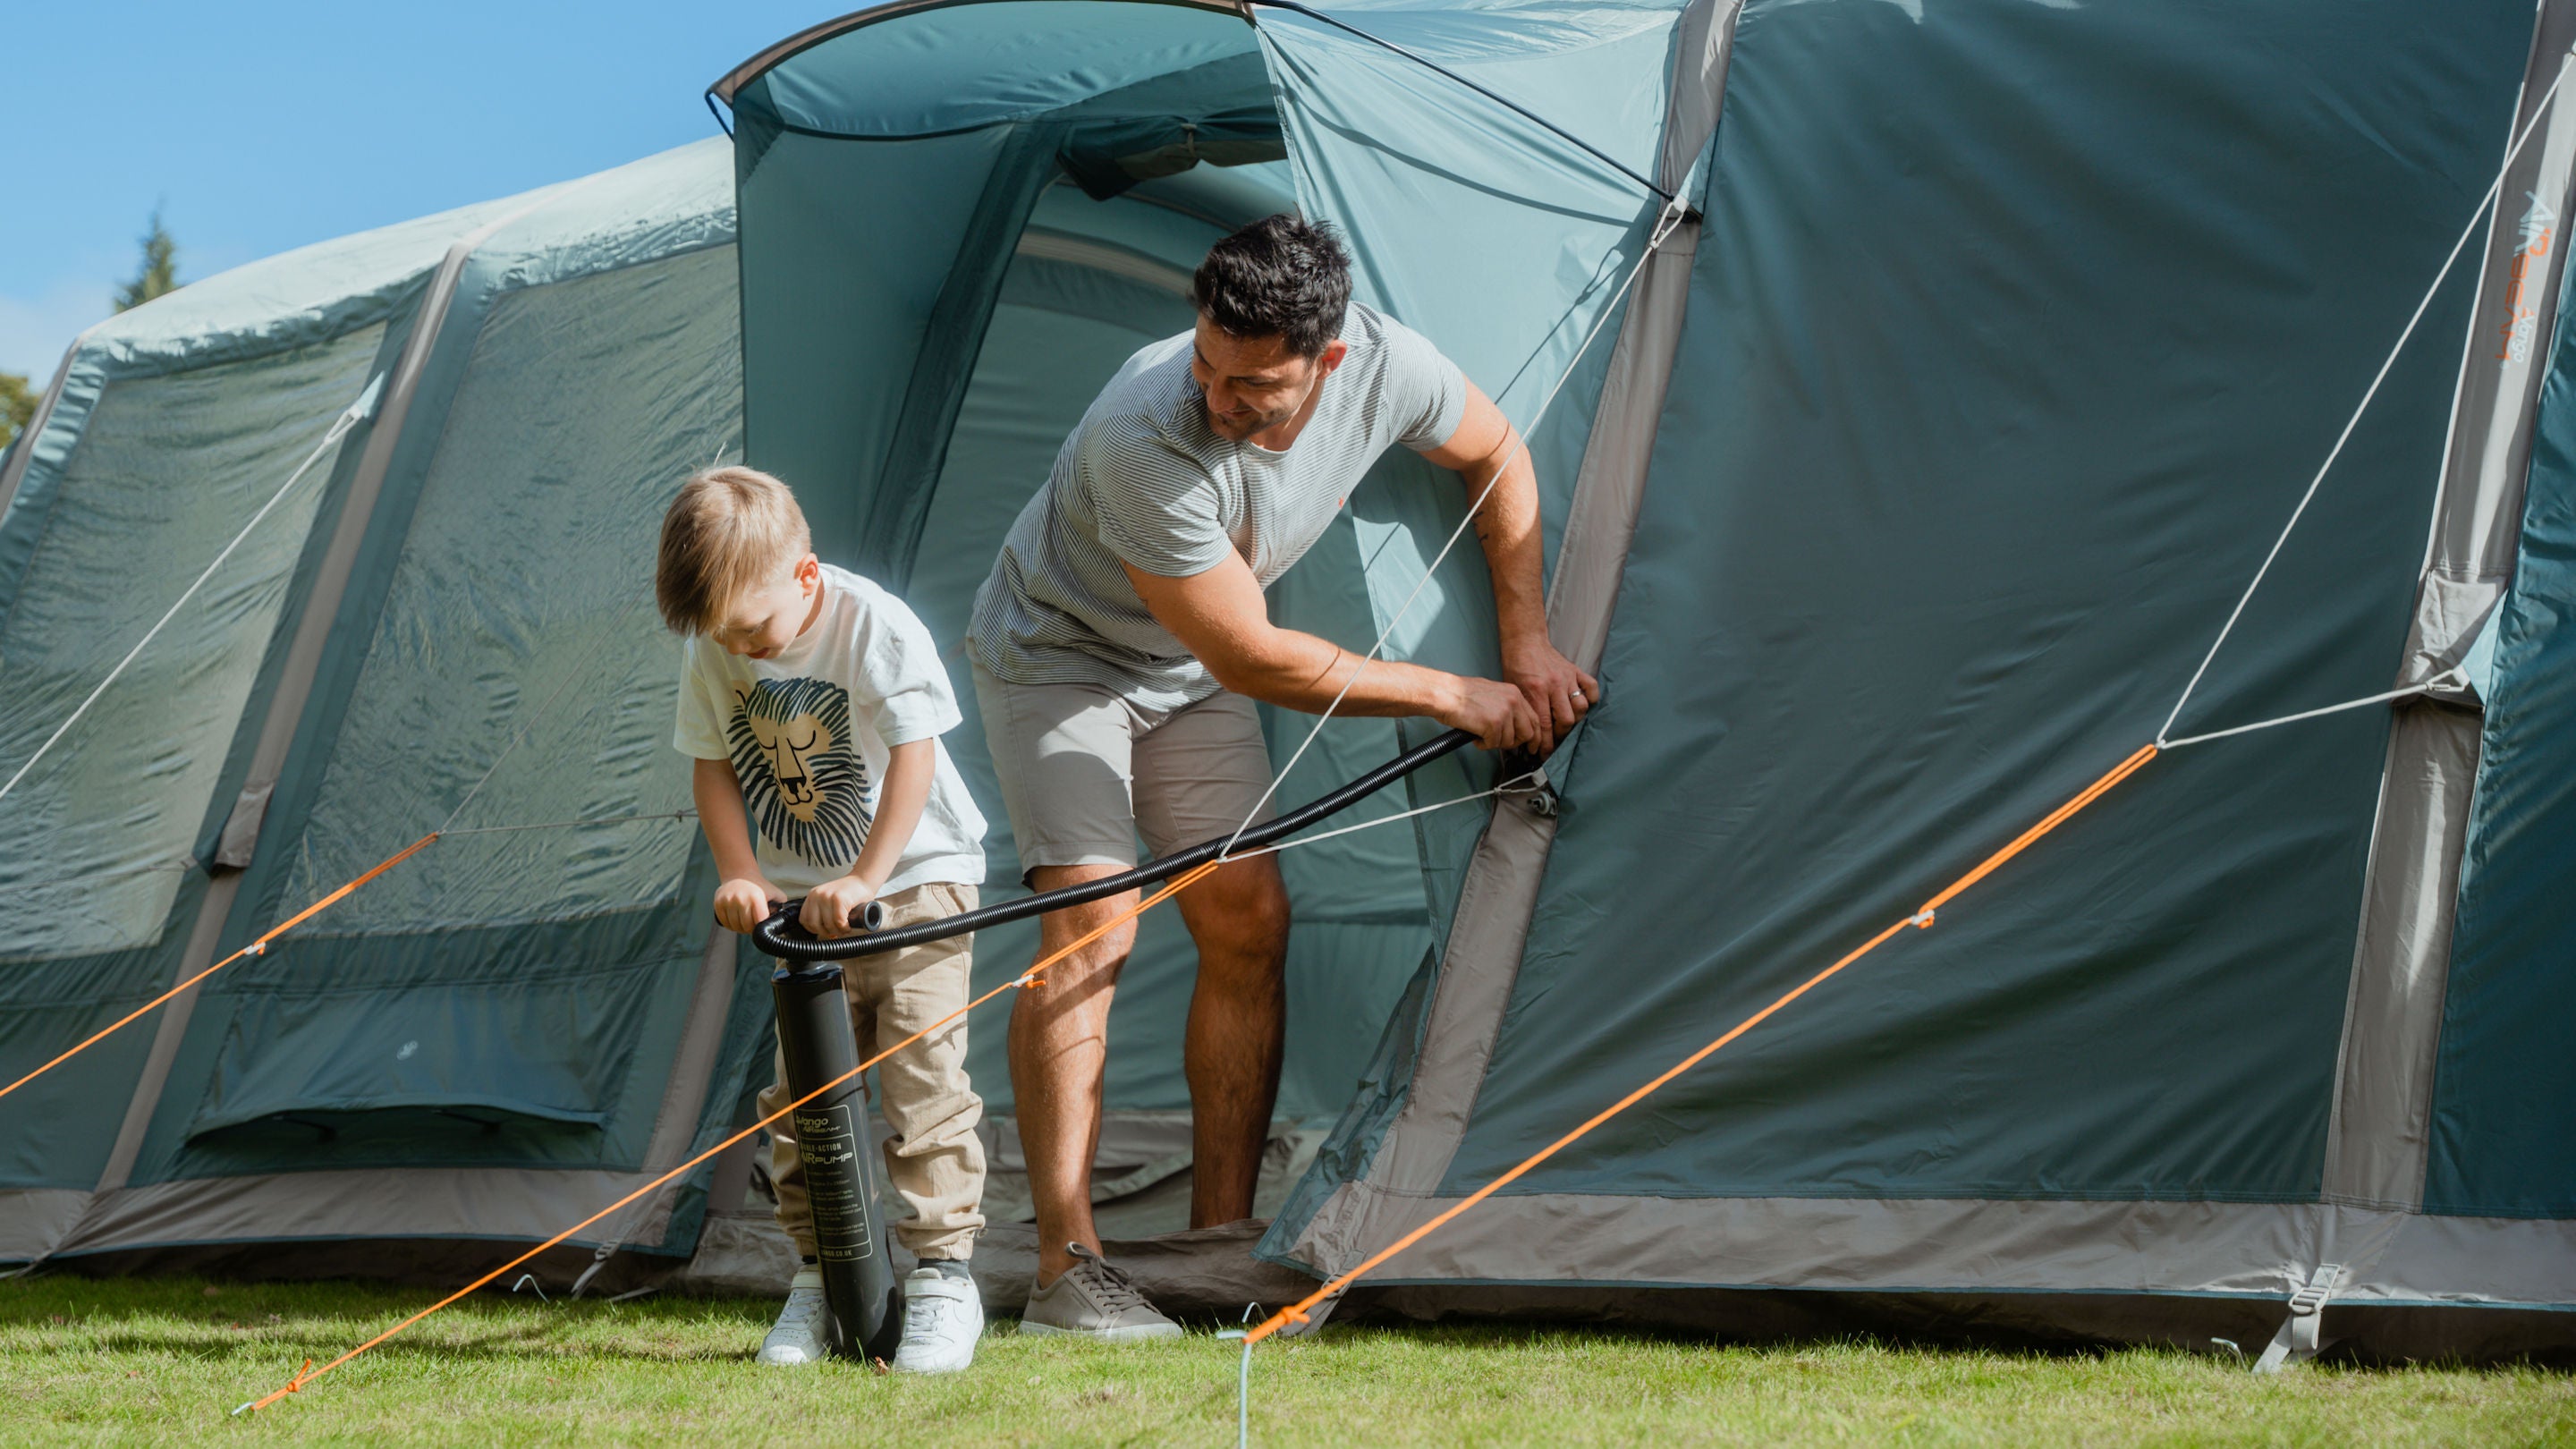
- Inflate the beams to 7PSI, starting with the middle beam.
- If needed, go inside the tent and lift the beam while inflating the remaining beams.
- For tents with a front enclosed porch:
- Zip closed all front doors.
- Peg the middle point at the front, not too tightly.
- Then work from left to right, pegging the corners evenly.
Pegging out the tent
- Close all entry points into the tent to avoid pressure on the doors during re-pegging.
- Peg the rear of the tent neatly and adjust any pegging points as necessary.
- Peg each point outwards in the direction it faces.
- Securely peg out the guylines and storm straps, providing extra tension and strength.
- Avoid over-tensioning the guylines or storm straps to maintain the tent's shape.
- Check that all doors inside the tent open and close smoothly.
- Store the tent bag and any spares in a safe place, like the car.
With our step-by-step guide, pitching your Vango Airbeam Tent will be a breeze! Happy camping! 🏕️🌟